1. Overview
SpellChecker lets you:
- Paste plain text and run a spell check.
- Upload files (PDF, DOCX, PPTX, TXT, HTML, images) and extract text.
- Use a crop tool to OCR only a specific region of a page or image.
- Search through results and manage a custom dictionary stored in your browser.
2. Checking Pasted Text
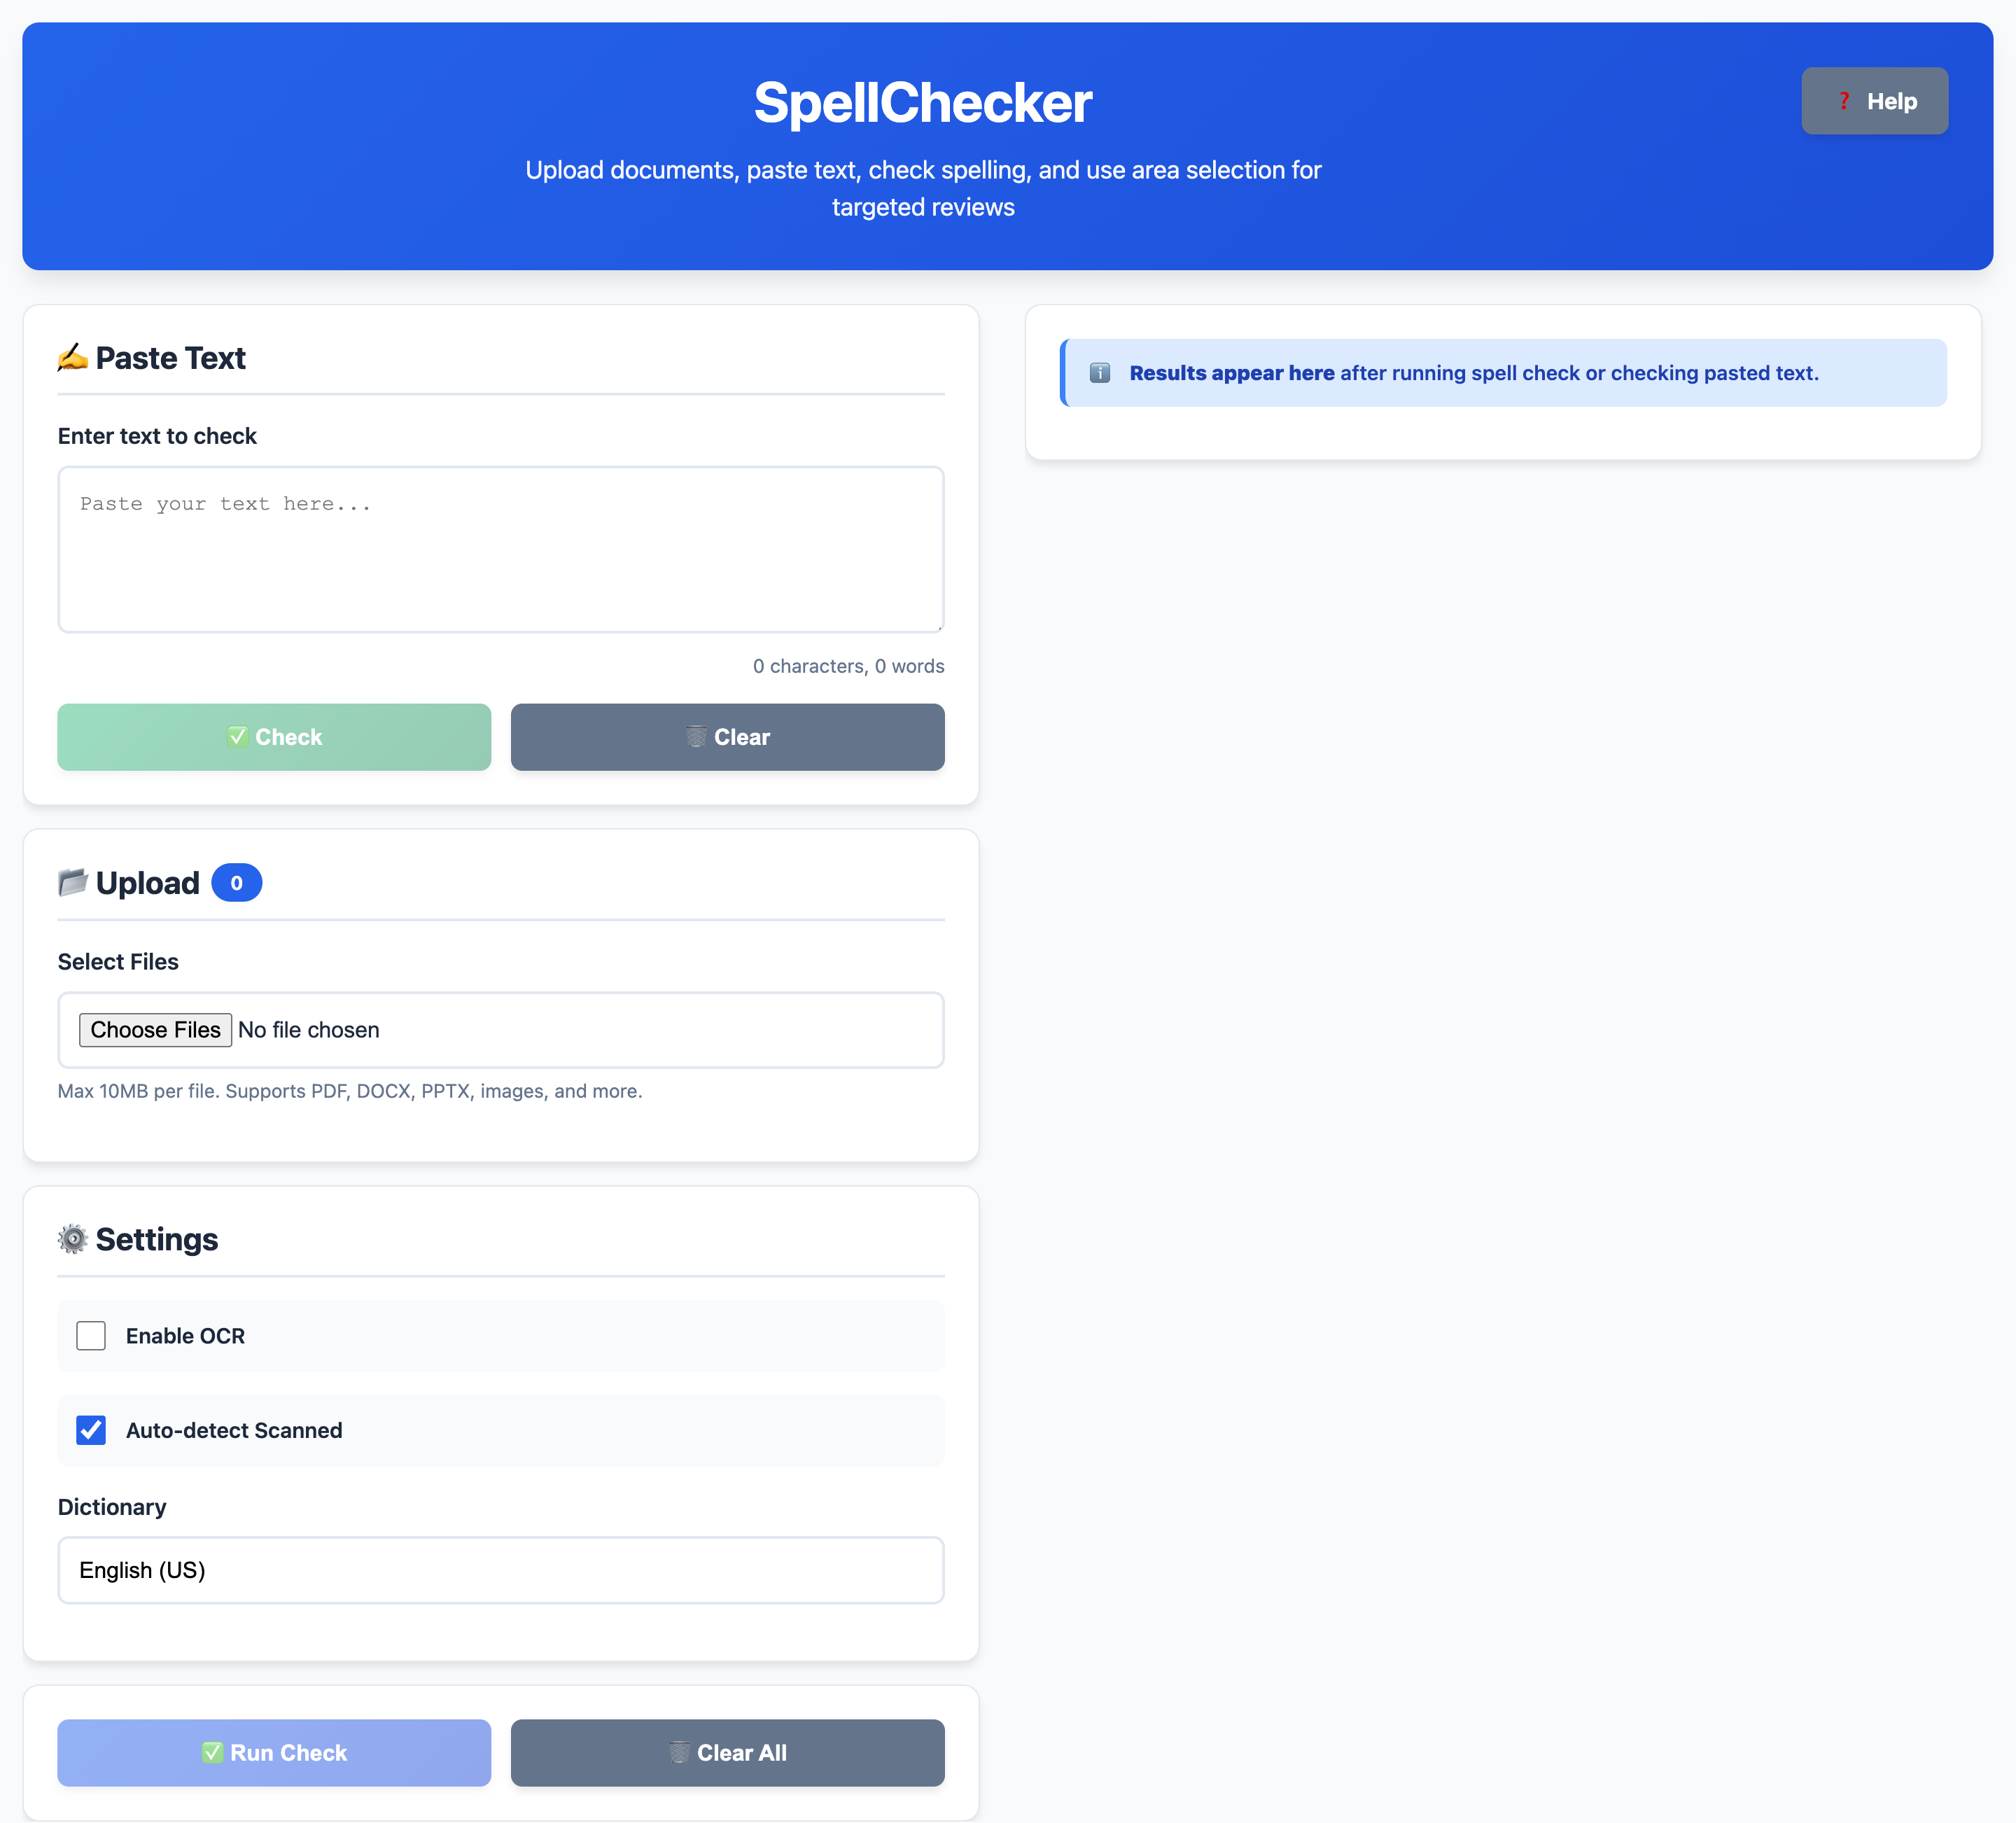
- In the ✍️ Paste Text card, click inside the text area.
- Paste or type your text.
- Watch the live character & word count under the box.
- Click ✅ Check to run a spell check.
The results will appear on the right under 📊 Results. Misspelled words are highlighted and listed with suggestions.

3. Uploading Files
3.1 Supported formats
You can upload multiple files at once (up to 10MB each):
- Documents: PDF, DOCX, PPTX, TXT, HTML
- Images: JPG, JPEG, PNG, GIF, BMP, TIFF
3.2 Steps
- In the 📂 Upload card, click Select Files.
- Choose one or more files from your computer.
- Each file appears in the list with size and status:
- ⏳ Ready – waiting to be processed.
- ⚙️ OCR – currently being processed.
- ✅ Done – spell check completed.
- ❌ Error – something went wrong.
Use 🗑️ Clear All Files to remove all uploaded files from the list.

4. Running Spell Check on Files
- Upload one or more files (see section 3).
- Ensure the dictionary is loaded (the ✅ Run Check button will be enabled).
- Click ✅ Run Check in the Actions card.
- Watch the progress bar update as files are processed.
-
When finished, each file appears in the 📊 Results section with:
- Total word count.
- Number of detected errors.
- Extracted text with misspellings highlighted.

5. Using the Crop Tool (OCR on a Region)
5.1 Enabling cropping for a file
- Upload a file (PDF, DOCX, PPTX, TXT/HTML, or image).
- In the file list, click the ✂️ Crop button next to that file.
- The ✂️ Crop Area card will appear.

5.2 Navigating pages
For multi‑page documents (like PDFs and PPTX), the app renders each page as an image:
- Use ← Previous and Next → in the Page Navigator to move between pages.
- The label shows: Page X of Y.
5.3 Selecting an area
- Inside the crop area, click and drag to draw a rectangle around the text you want.
- The selection is outlined in blue, and coordinates are shown in the 📍 info bar.
- A preview of your selection appears in the Crop Preview panel.
Use these controls:
- 📐 Fit to Screen – scales the canvas so the page fits in the visible area.
- 1:1 Actual Size – shows the image at its original resolution.
- Space + drag – pan around the page when zoomed in.
- ↩️ Reset – clears the selection and resets zoom/pan.

5.4 Extracting text from the crop
- After selecting an area, click 📄 Extract.
- The app will:
- Run OCR on the cropped image region.
- Spell-check the recognized text.
- A new result entry appears on the right (labelled with the crop size, e.g. Cropped (800×400px)).
- Optionally, click 💾 Download to save the cropped image.
6. Settings & Dictionaries
6.1 OCR settings
- Enable OCR – allows extracting text from images or using OCR on scans.
- Auto-detect Scanned – when enabled, PDF pages with little embedded text are treated as scanned pages and processed via OCR (hybrid mode).
6.2 Dictionary selection
Use the Dictionary dropdown to choose:
- English (US) – default US spelling.
- English (UK) – UK spelling (if you provide a UK aff/dic pair).
- Custom – extend with your own word list.
6.3 Custom dictionary
When you choose Custom, a section appears where you can:
- Upload Dictionary – import a
.txtor.dicfile (one word per line). - Paste Words – manually type or paste words (one per line).
- Click 📖 Load to add them to your custom dictionary.
In the results panel, you can also click ➕ Add to Dictionary next to any misspelled word. Those words are:
- Stored in localStorage in your browser.
- Counted under Custom words in the Results header.
- Ignored in future checks.
6.4 Downloading your custom dictionary
- After adding words, open the 📊 Results panel.
- Click 💾 Download Dictionary.
- A
.txtfile will be downloaded with all your custom words (one per line), sorted alphabetically.

7. Searching Within Results
Once you have results, the Search card appears on the right.
7.1 Basic search
- Type a word or phrase into the Search results... box.
- Matches are highlighted in the result text using a yellow background.
- Use the small ↑ and ↓ buttons to jump between matches.
You can limit what is searched using the checkboxes:
- Misspelled Words – search only the error list for each file.
- Filename – search by file names.
- Full Text – search the full extracted content.
Click the ✖️ button to clear the search and remove highlights.

8. Downloading Extracted Text
For each result (file or crop), you can download the extracted text:
- Find the file in the 📊 Results list.
- Click the 💾 Download Text button.
- A
.txtfile containing that result’s text will be saved to your computer.
9. Troubleshooting
9.1 Buttons are disabled
- Make sure the dictionary files (
index.affandindex.dic) are available and load correctly. - For ✅ Check on pasted text, ensure the text area is not empty.
- For ✅ Run Check, upload at least one file.
9.2 OCR doesn’t run
- Ensure Enable OCR is checked for image files or scanned PDFs.
- If you get an OCR error, try again; the Tesseract worker is re‑initialized automatically after failures.
9.3 Custom dictionary not remembered
- The app uses the browser’s localStorage. If you clear site data or use private browsing, your custom words may not persist.